Funky Washi Tape Cards
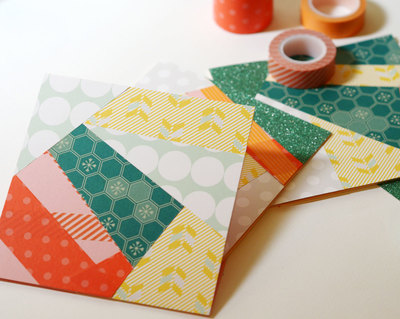
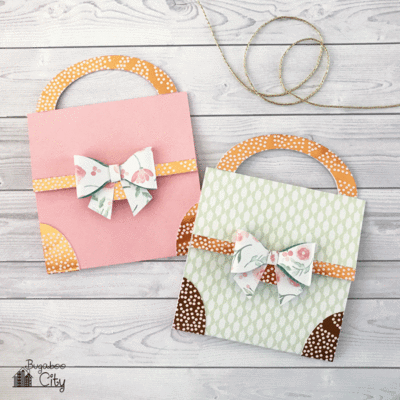
Card making ideas have never been more unique than these Funky Washi Tape Cards. These cards are appropriate for any occasion you can think of because they can literally look any way you'd like. If you have rolls of washi tape to use up or you just want to hop on the washi tape trend, grab a variety of patterns and get crafting. This tutorial will produce several awesome washi tape cards, so you can give them to several of your friends and family members for any upcoming events.

Materials:
- Cardstock
- Patterned Papers
- Washi Tape
- Paper Glue
- Wooden Picture Frame
- String or Twine
- Thumbtacks
- Tiny Clothespins or Clips
Instructions:
- Begin by cutting several five-inch squares with your favorite Fiskars paper trimmer. Randomly run over-lapping stripes of washi tape across the squares. Trim away the excess with a detail knife.

- Cut an assortment of 5" squares from coordinating patterned paper with your paper trimmer.

- Neatly stack four squares and place them on your cutting board. Use your detail knife and ruler to cut random triangles and shapes from this square stack. Work precisely, and after each cut you make, re-align the stack. If you don’t take the time to do this, when you reassemble the squares, your pieces won’t fit neatly back together.

- When you’ve completed cutting up your stack of, take a couple of pieces from each color and pattern, and reassemble the squares.

- Next, cut a 5" x 10" piece of cardstock. Mount two of these squares side by side on the cardstock using paper glue. Once the glue has dried, fold your card in half and crease the seam.

- Create several sets of these. With each edition, mix up the papers and try cutting new patterns.


- It’s always nice to have a place to display the cards you receive, so I created this simple display, too!

- Take an old wooden picture frame, and run a row of thumbtacks, two inches apart, along the vertical sides. Don’t push them in too deep yet, leave a small gap between the tack head and the wood.
- Select a spool of sturdy twine or string, and tie the end to one of the top thumbtacks. Zigzag the string across the frame back and around the thumbtacks, working your way down the frame. When you reach bottom, tie off your string around the last tack and push the tacks deeply into the frame.
- Hang your cards over the strings and secure with a tiny clothespin or clip. Sit back, enjoy the cards you received, and think of the people that sent them and the words they shared inside.

Your Recently Viewed Projects
EditorLP
Jul 15, 2016
I love how fun and colorful these cards are. Plus, they're simple and quick, which is exactly the sort of cards I love to make!
Report Inappropriate Comment
Are you sure you would like to report this comment? It will be flagged for our moderators to take action.
Thank you for taking the time to improve the content on our site.

