3D Flower Vase Birthday Card
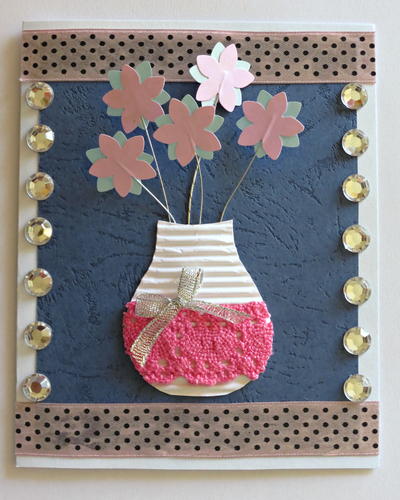
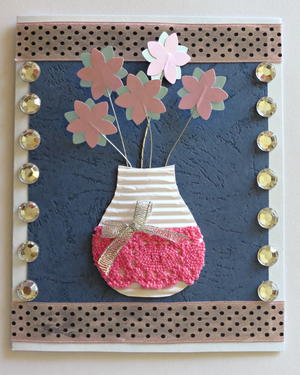
Who says flowers are just for spring? If you are like us, you will love this all seasons flower card! Make a beautiful 3D Flower Vase Birthday Card for anyone whose special day is coming up. Use jem wires to add floating flowers to the vase. With delightful hues of pink and blue, this card adds a soft feminine touch and will definitely make the recipient feel very special. If you are looking for birthday card making ideas, craft this adorable design, and let flowers bring joy and warmth to any season.
Materials:
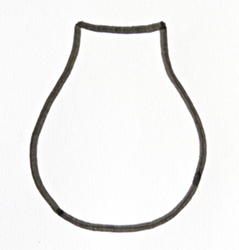
- printout of provided pattern sheet (above)
- 10” x 6.2” light blue marbled cardstock
- 5.8” x 4.4” navy blue cardstock
- left-over piece of pink pearlised cardstock
- left-over piece of darker blue marbled cardstock
- piece of white corrugated cardstock
- 2 silver jem tin wires, 26 gauge and 14” long (found these at a baking supply store)
- fourteen 10mm clear self-adhesive flat-sided rhinestone stickers
- left-over piece of pink crochet lace
- 0.6” wide light pink satin ribbon with black polka dots
- 0.2” wide silver metallic ribbon
- large petal palm punch from XCut, code XCU 261811
- Elmer’s Poster Tack
- standard scissors
- ruler
- pencil
- clear-drying craft glue (such as Bostik Clear)
Instructions:
- Score the 10” x 6.2” light blue marbled cardstock to create a card sized 6.2” x 5”.
- With the fold at the left, centre and glue the navy blue cardstock to the front of the card.
- Glue a strip of light pink satin ribbon with black polka dots to the top of the card and cut off any protruding edges. Do the same with the bottom of the card.
- Trace the vase onto the white corrugated cardstock and cut it out.
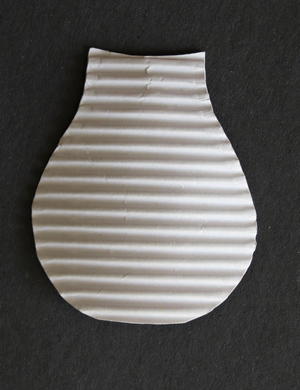
- Slightly bend the centre of the vase outwards to simulate a curved effect.
- Glue a strip of crochet lace across the vase and cut off any protruding edges.
- Punch five flowers each from the pink pearlised and darker blue marbled cardstock.
- Cut the jem wires into smaller pieces, ranging from 4.2” and shorter. You will need five pieces of wire.
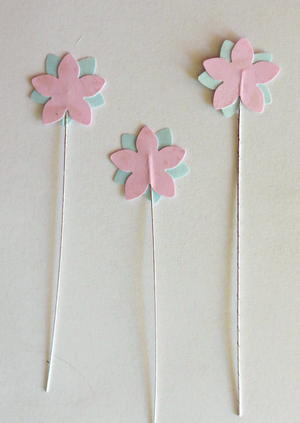
- Add glue to a blue flower. Put one jem wire on the blue flower before adding the pink flower on top of blue, and pressing down so that the glue will stick the two flowers together.
- Do the same with the rest of the flowers.
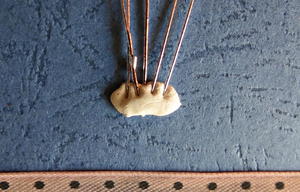
- Measure where the vase will be on the card. Add a small piece of poster tack to the card and stick the ends of the wires into the poster tack. The flowers should not all be on the same level. Add a drop of glue over the poster tack to keep the wires in place.
- Add glue to the vase and glue it to the card, making sure that all the wires come out of the top of the vase before pressing it down.
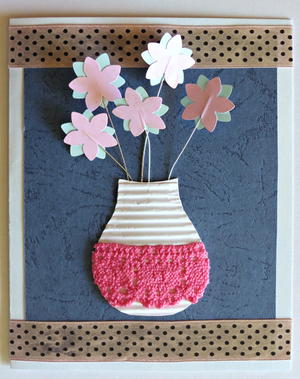
- Slightly bend the wires to add dimension to the arrangement.
- Add the rhinestone stickers to the left and right of the card. Check that they are spaced out evenly.
- Make a small neat bow with the silver metallic ribbon and glue this below the vase to complete the card.
Read NextBunch of Balloons Birthday Card
Daughter of Light
Jun 19, 2018
I like the idea the artisan has happening here! I can see this 3D Flower Vase changed up for every season. In autumn you can change up the color scheme to oranges, rusts and add a few leaves around the vase. In winter put in red Poinsettias with a deep green lace. In spring you can leave as is. In summer you can do yellow sunflowers and wheat stalks. Wow! This is really adaptable!
Report Inappropriate Comment
Are you sure you would like to report this comment? It will be flagged for our moderators to take action.
Thank you for taking the time to improve the content on our site.


