Season's Greetings Card Set
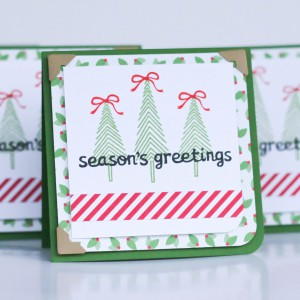
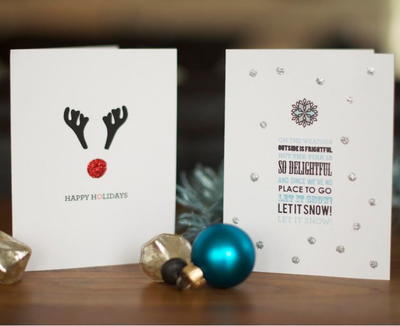
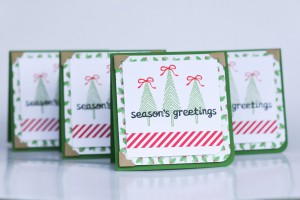
Why buy when you can DIY with this adorable Season's Greetings Card Set? Create fun and personalized tidings for your family and friends this holiday season without spending an arm and a leg on supplies. This short tutorial will show you how to make greeting cards that are customizable and attractive without being overly complicated. Simply follow the steps then add a thoughtful holiday message and send your little dose of holiday cheer on its merry way. Trust us when we say this is one holiday card your recipients will be happy to tack to their fridge or tape to their door frame.
Estimated Cost$11-$20
Time to CompleteUnder an hour
Project or Page Size12 inches x 12 inches
Type of Paper UsedCardstock

SeasonChristmas
Materials:
- E-Z Dots Permanent Refillable dispenser
- 3D Foam Squares
- Classic Photo Corners – Kraft
- Lawn Fawn Pattern Paper
- Lawn Fawn stamps
- Green Cardstock
- White Cardstock
- Corner Rounder
- Gina K Ink
Instructions:
- First, gather your materials. The four card bases are created from a single sheet of 12×12 paper. So make sure you grab a sheet of that.
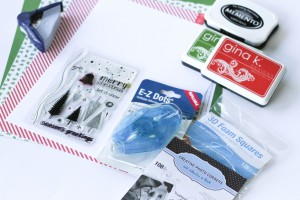
- Trim the paper and card stock: Card base 4×4 inches, Pattern Paper 3.75 x 3.75 inches, White Cardstock 3.25 x 3.25 inches, Pattern paper strip .5 x 3.25 inches. Round the right bottom corner on all of the square pieces.
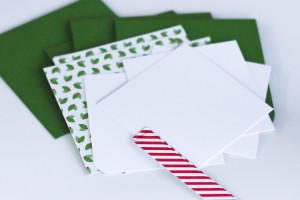
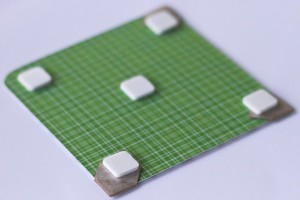
- Add Scrapbook Adhesives by 3L 3D Foam Squares and Classic Photo Corners – Kraft.
- Stamp images & sentiments. Then adhere the pattern paper strips using the E-Z Dots Permanent refillable dispenser.
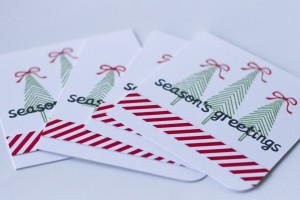
- Assemble the cards, and you have 4 cards ready to be packaged together as a gift, or sent away in the mail to friends and family.
Check out even more great holiday printables by heading over to 27 Printable Paper Crafts for the Holidays.
Read NextFree Printable Woodland Winter Cards


