This project was submitted by one of our readers, just like you.
DIY Bunny Bookmarks
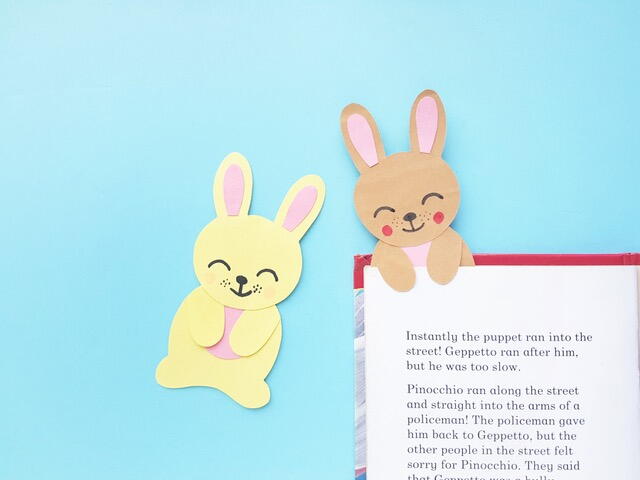
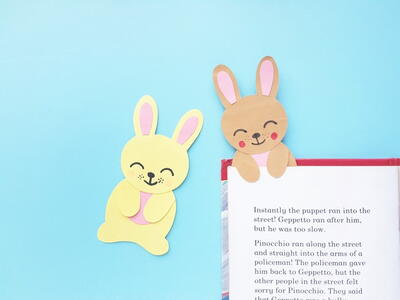
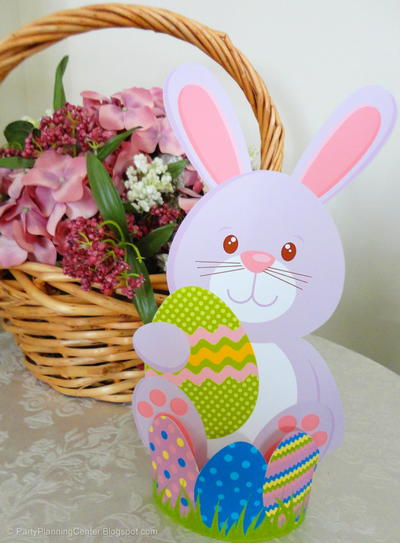
From the designer: "These DIY Bunny bookmarks are not only fun to make, but perfect to help make your place in your book. How fun would it be for your child to have a new and cute bunny bookmark this Easter to help them hold their spot in any book they are reading. With the included free template and a few supplies, you can make these in little to no time. The best thing about these DIY Bunny bookmarks is they are the perfect spring craft project for older kids too."
Time to CompleteUnder an hour
Primary TechniqueGeneral Paper Crafting
Project or Page Size8.5 inches x 11 inches
Type of Paper UsedConstruction Paper
Materials List
- Colored Paper
- Craft Glue
- Sharpie
- Pencil
- Scissors
Instructions
-
Select a colored piece of paper for the bunny’s head, body, upper legs (arms) and select pink paper for the belly and inner ear patterns. Trace and cut out the patterns carefully.
-
Stick the inner ear cutouts on the main ear parts attached to the head pattern. Attach the belly cutout near the top side of the body pattern.
-
Grab the upper leg (arm) cutouts and stick them on both sides of the body pattern, gluing them only along the open edge and keeping the rest of the pattern free from glue.
-
Attach the head pattern on the top side of the body pattern.
-
Use a black sharpie to draw the eyes, nose and mouth of the papercraft bunny and use a red sharpie to draw 2 blush patterns on both cheeks of the papercraft bunny.
-
Slide a page under the arms of the papercraft bunny to use it as a bookmark.
Read NextPrintable Easter Word Search


