Sunny Embossed Flower Tag
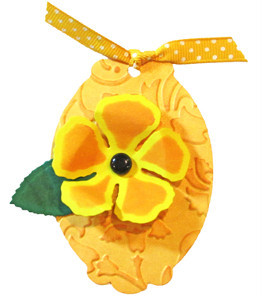
Welcome summer with a touch of sunshine! The Sunny Embossed Flower Tag is a great project to accompany any gifts you give this summer. Whether you need a gift tag for Mothers Day or a friend's birthday, this lovely tag is a must-make. With the use of a floral embossing folder and a DIY paper flower, you will have a bright and cheery gift tag to adorn any gift. Make several homemade gift tags for all of your upcoming festivities, and add a drop of sunshine to everyone's day.
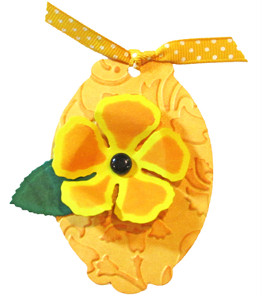
Materials:
- Cardstock: WorldWin® in Petallics® Gold Ore, ColorMates® Deep Sunshine Yellow, and ColorMates® Deep Emerald Isle
- Embossing Folder: Spellbinders® in Awesome Blossoms (or any embossing folder)
- Die cutting templates: Spellbinders® in Rose Creations and Labels Ten (or any nested Labels die)
- Fluid Chalk Ink in Deep Orange and Deep Green
- Ribbon: Swiss Dots Grosgrain Bright Yellow
- Mini brad: black
- Adhesive: white glue or dimensional foam dots or squares
- Hole punch: 1/8 inch
Instructions:
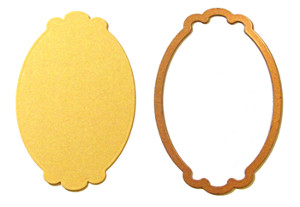
1. Cut tag using Petallics® Gold Ore cardstock and the Spellbinders® Labels Ten die template. Use the third smallest die template. The tag will measure approximately 3½ x 2½ inches - about the size of a business card.
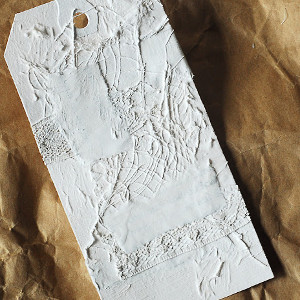
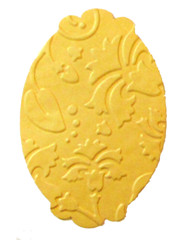
2. Emboss tag, using your choice of embossing folder.
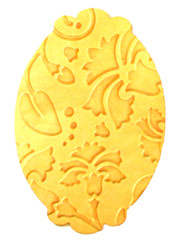
3. Rub the embossed (raised) areas of the tag lightly with Deep Orange chalk ink.
4. Punch a hole in the top center of the tag and tie a length of ribbon through the hole.
5. Cut one flower from ColorMates® Deep Sunshine Yellow cardstock with the Spellbinders® Rose Creations die template (second largest flower).
6. Keep the flower in the die template and rub the exposed paper with Deep Orange chalk ink.
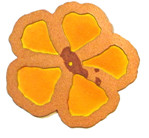
7. Gently shape the flower with your fingers.
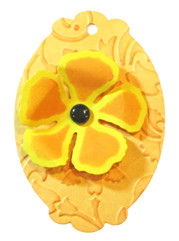
8. Place a black mini brad through the hole in the center of the flower.
9. Attach the flower to the tag with an adhesive dot.
10. Cut one leaf from ColorMates® Deep Emerald Isle cardstock with the Spellbinders® Rose Creations die template.
11. Keep the leaf in the die template and rub the exposed paper with Deep Green chalk ink.
12. Gently shape the leaf with your fingers.
13. Attach it to the tag with dimensional adhesive.
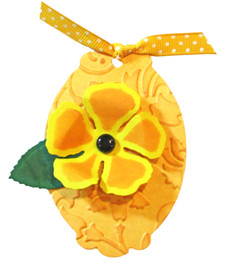
Please note: You may use any colors of paper for this project.
Also, any labels die template will work, as will any embossing folder of your choice.
Read NextJoyful Printable Christmas Tags

