Romantic DIY Paper Rose Wedding Favor
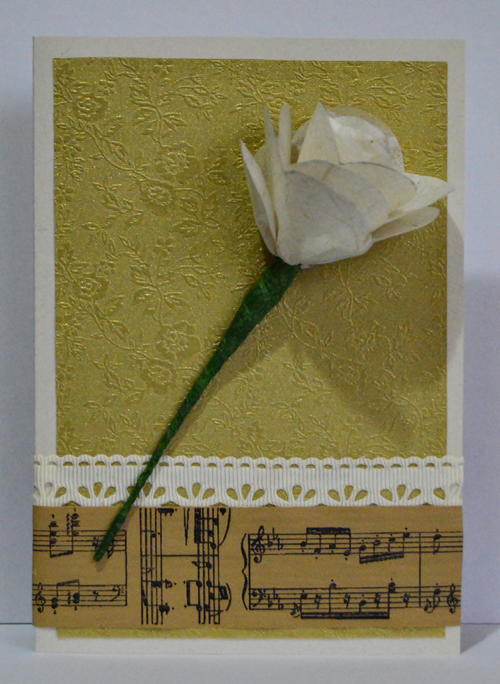
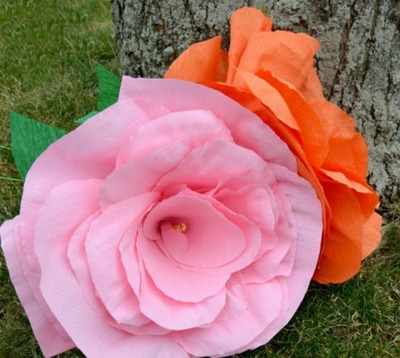
Paper flowers are a wonderful way to personalize any occasion. For this Romantic DIY Paper Rose Wedding Favor, use tissue paper to make an easy yet elegant DIY paper rose to be part of a wedding favor or for nearly any other occasion.
Print a poem about "Love" on the inside of the handmade card, add a piece of wedding cake, and thank your guest for attending your wedding day in a unique way. This wedding favor can also be used as a place card holder. Get creative with this thoughtful paper craft and use it as needed any time of year.
Estimated CostUnder $10
Time to CompleteUnder an hour
Primary TechniquePaper Crafts
Type of Paper UsedTissue Paper

Materials List
- A4-sized cream colored handmade tissue paper
- 8.2" x 5.7" cream colored cardstock
- 5.4" x 3.6" rose embossed gold paper
- 9" of cream lace ribbon that is 1"-wide
- 9" of brown paper ribbon with printed music notes, 1.2"-wide
- 4" piece cut from a 28 gauge green floral wire
- Green floral tape
- 2.2"-wide heart-shaped cookie cutter
- Plastic lid with a diameter of 1.6"
- Scissors
- Pencil
- Ruler
- Clear-drying craft glue (such as Bostik Clear)
Instructions for the Center of the Flower:
-
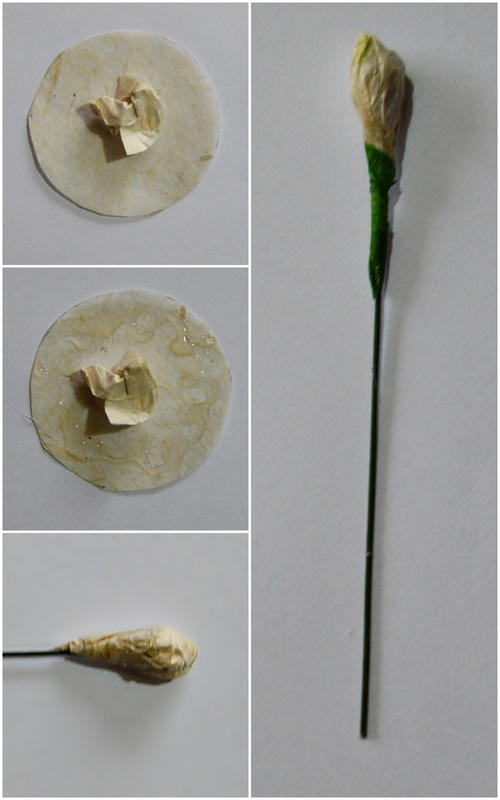
Use the lid to trace two circles on to the tissue paper, and cut them out.
-
Crumple up the one circle and put it on top of the second circle.
-
Add glue all around the crumpled circle.
-
Fold the second circle over the crumpled-up one.
-
Add to the piece of wire and secure with floral tape.
Instructions for the Flower:
-
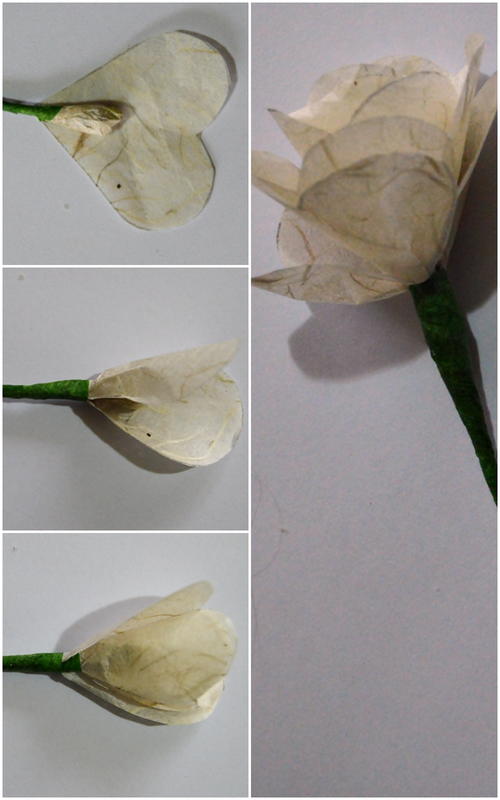
Trace and cut 9 hearts from the tissue paper. These will be the rose petals.
-
Fold the bottom part of each petal around the top of the wire, and secure the bottom point of each heart to the wire, using the floral tape.
-
Continue until all the rose petals have been secured.
-
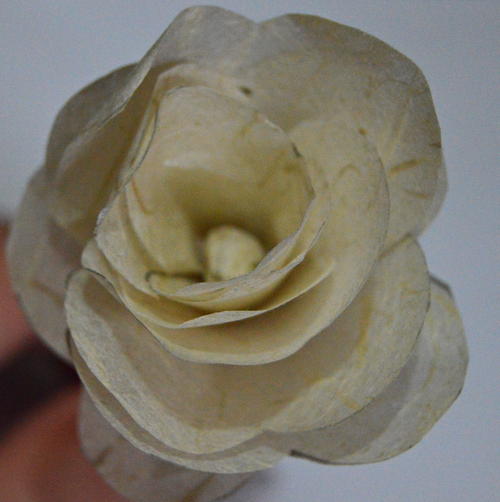
Gently fold the petals of the rose open.
-
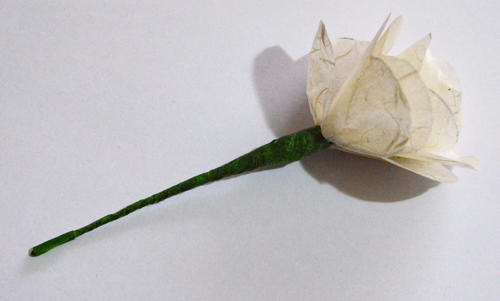
Cover the whole piece of wire with floral tape, so that the rose will have a green stem.
Instructions for the Card and Finishing:
-
Score the 8.2" x 5.7" cream-colored cardstock to create a card sized 5.7" x 4.1".
-
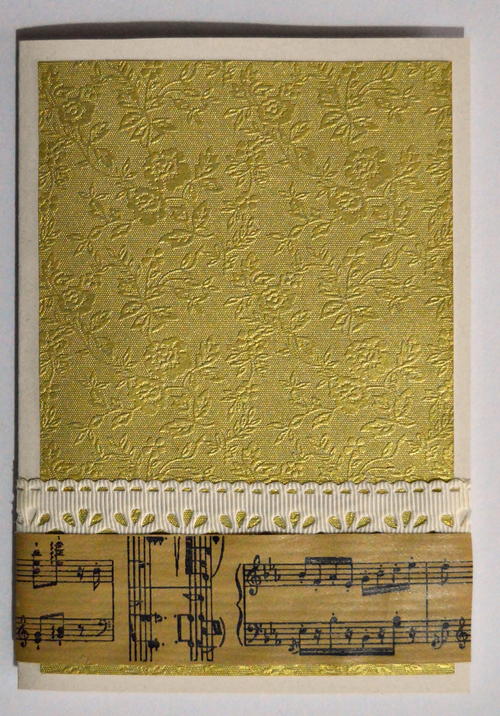
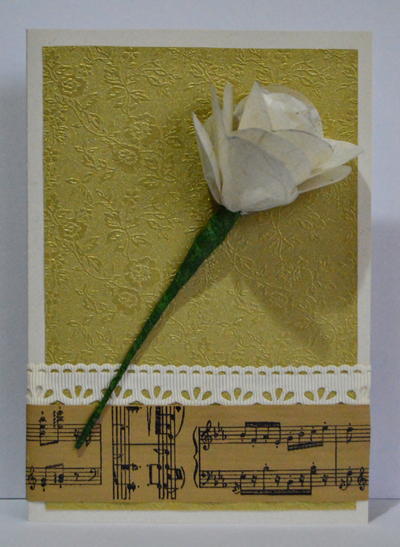
With the fold at the left, center and glue the piece of rose embossed paper to the front of the card.
-
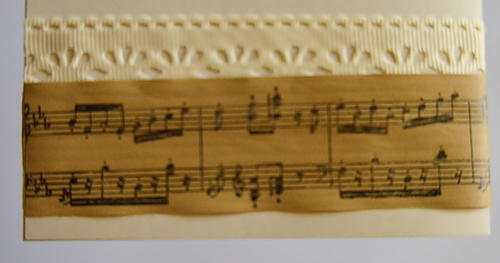
Glue the cream lace ribbon to the lower front of the card. Fold it over to the back and glue it to the lower back as well. Cut off any protruding edges.
-
Now do the same with the paper ribbon, but allow the paper ribbon to overlap with the lace ribbon.
-
Glue the rose diagonally to the front of the card.
Read NextDIY Paper Rose Bouquet

