Handmade Stationery Set
Learn how to make your own stationery for a friend. This Handmade Stationery Set is an absolutely beautiful paper craft that is so easy to make. The DIY gift takes super basic supplies and expands them to create a full set of beautiful paper and envelopes. Practice embossing with this fabulous collection. Use lovely stamps and beautiful colors to customize this to your loved one's taste. No need to purchase expensive stationery when you can perfectly personalize it for a loved one at a fraction of the cost.
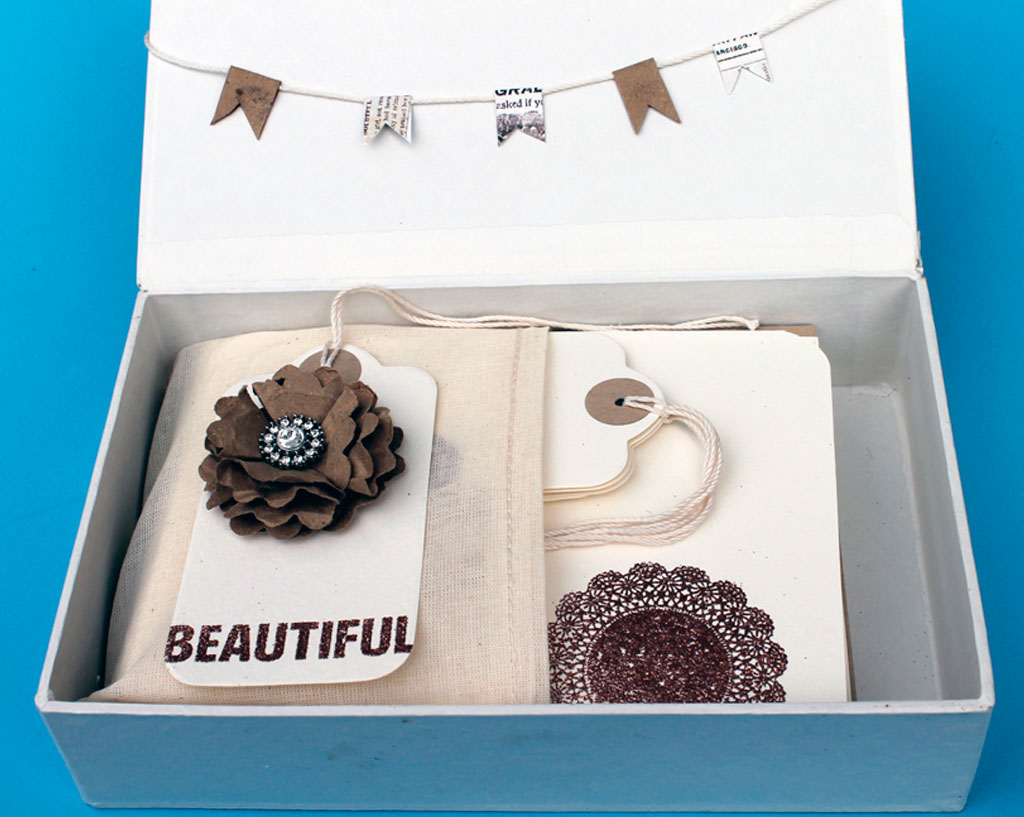
Materials:
- Cardstock
- Envelopes
- Embossing pad
- Embossing powder
- Heat gun
- Twine or thread
Instructions:
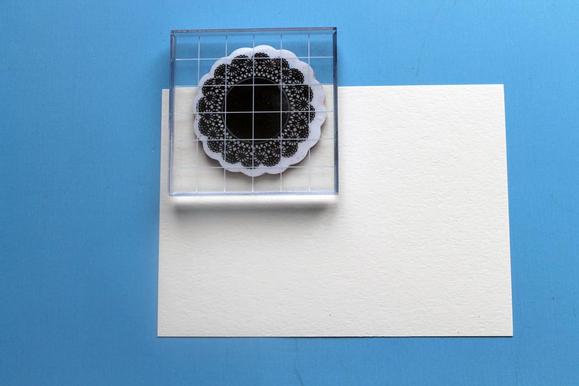
- I began by cutting the note cards to size - mine are 6.25” x 4.5”. I then stamped my chosen stamp onto the edge of the note card. I chose to stamp this design half on/half off the note card, but this is where you can use your own creative instincts and stamp your designs where you think best.
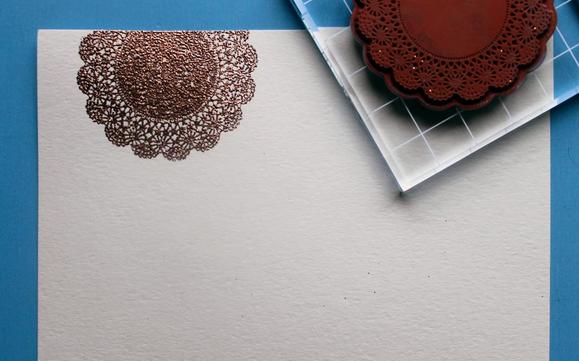
- Instead of using an ink pad, I used the embossing pad, which leaves a faint impression of the design on the cardstock. Shake the embossing powder over the design, remove the excess and heat with a heat gun. The design will ‘magically’ transform into a beautiful, embossed image. Consider experimenting with different powders and colors for a variety of wonderful effects.
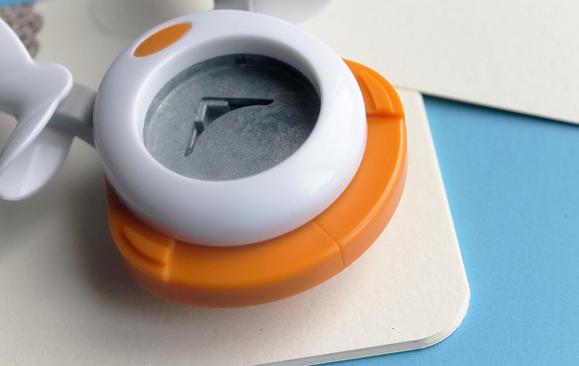
- I rounded off the bottom corners of my note cards using my Fiskars Corner Squeeze Punch. I think that rounding off the corners gives these cards into a truly professional finish.
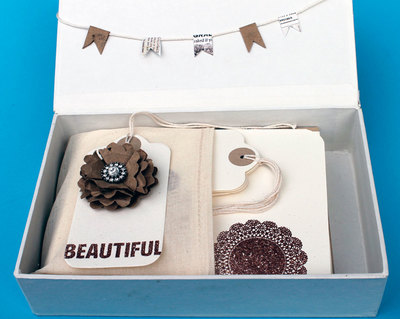
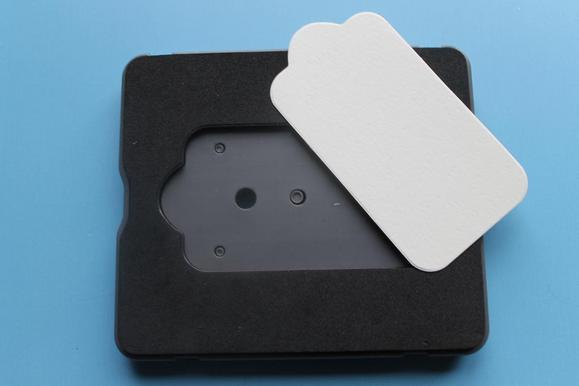
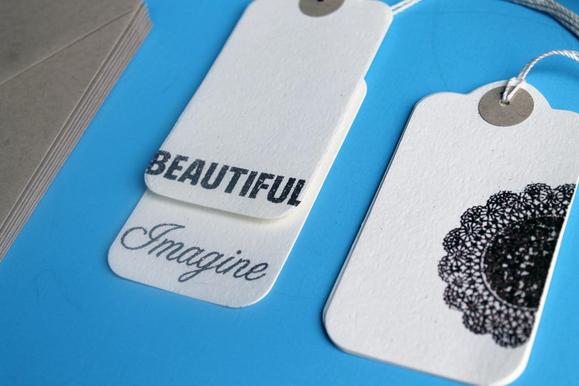
- Next, I added handmade labels to my box set, which I cut using the Fuse Creativity System® tag design set. The Fuse allows you to cut up to 10 sheets of cardstock in one pass through the machine, which makes quick work of creating a bundle of labels to add to the stationery set.
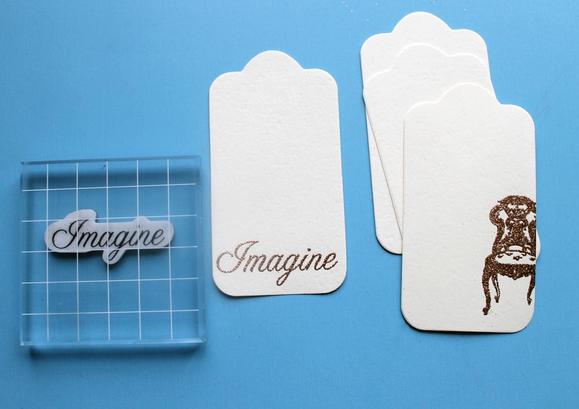
- I embellished the tags with embossing powder the same way I created the note cards. I varied the sentiments so that the recipient has a pretty selection of different labels to choose from.
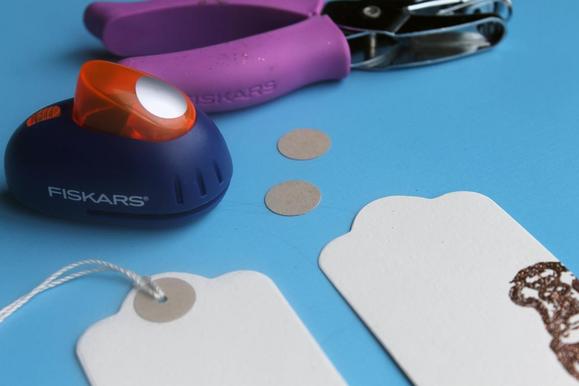
- To complete the labels, I used my Circle Pop Up Punch to cut out a small circle of contrasting cardstock. After adhering it to the end of the label, I punched through all layers with my punch and threaded through some twine.
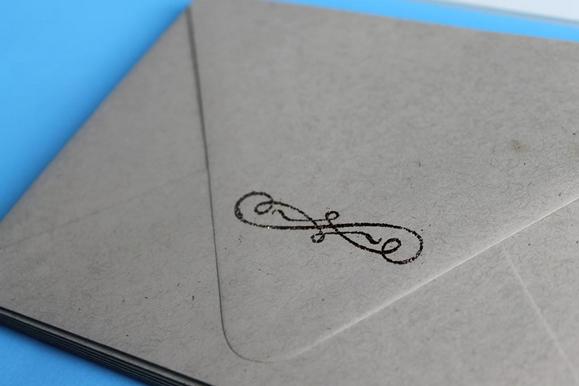
- I completed the stationery set with some embossing on the back of the matching envelopes.
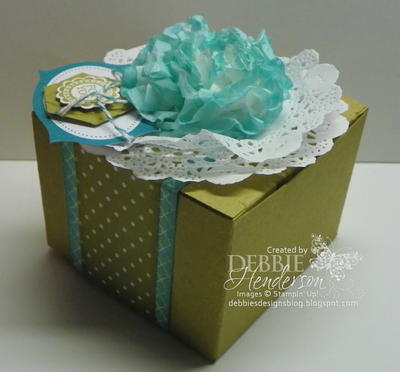
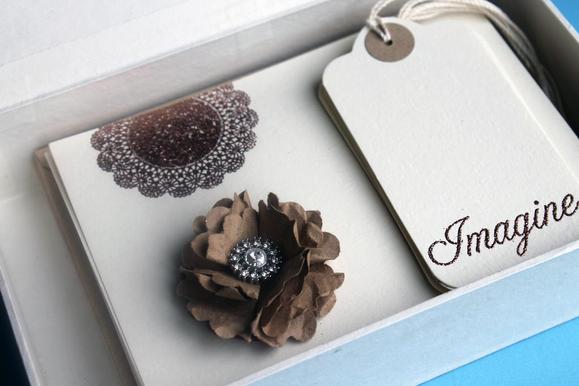
- To finish, I added some handmade flower embellishments, that not only make the finished stationery set look beautiful, but can also be used to decorate future packages and gifts. This stationery set really is the gift that keeps on giving!
Your Recently Viewed Projects
JMitchell
Jul 02, 2014
Box shown with stationery in first and last photos, but no details given for this. Is it hand made or decorated? If purchased as is, where?
Editor Dana
Jul 07, 2014
Hi JMitchell! The box is not a part of the tutorial. You can find the plain white boxes at your local craft store, and decorate with homemade banners or floral embellishments! We hope this helps! -Editors of AllFreePaperCrafts
Report Inappropriate Comment
Are you sure you would like to report this comment? It will be flagged for our moderators to take action.
Thank you for taking the time to improve the content on our site.

