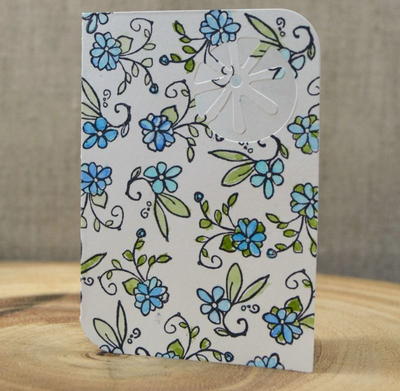
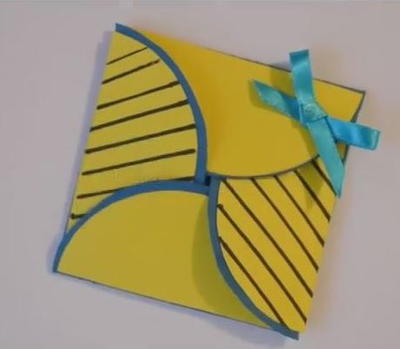
Delft Inspired Handmade Card

Turn an adult coloring page, inspired by the beautiful hand-painted pottery from Delft, Netherlands, into a stunning birthday, greeting, or thank you card for a family member or friend. This Delft Inspired Handmade Card is a challenging coloring project, as the design is mainly colored-in tonal values of blue. The end result makes for a homemade card that will certainly be cherished for many years. Instead of using the design on a card, it can also be used as part of a decoupage project. Color the DIY card with colors other than blue if you choose, too.
Estimated CostUnder $10
Time to CompleteIn an evening
Primary TechniquePaper Crafts
Project or Page SizeCard
Type of Paper UsedCardstock

Materials List
- A copy of the provided adult coloring design
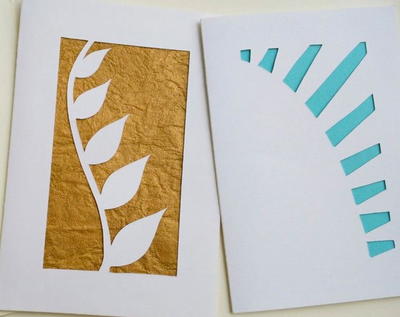
- A4 sheet of white textured paper
- 2 pieces of tiffany blue cardstock, each sized 5.6" x 4.1"
- Watercolor pencils (different shades of blue, as well as gray; white and purple-blue)
- Pilot extra fine white pen
- Blue food color
- Thin paintbrush
- 2 small plastic bowls
- Quick-drying craft glue (such as Bostik Clear)
- Scissors
Instructions:
-
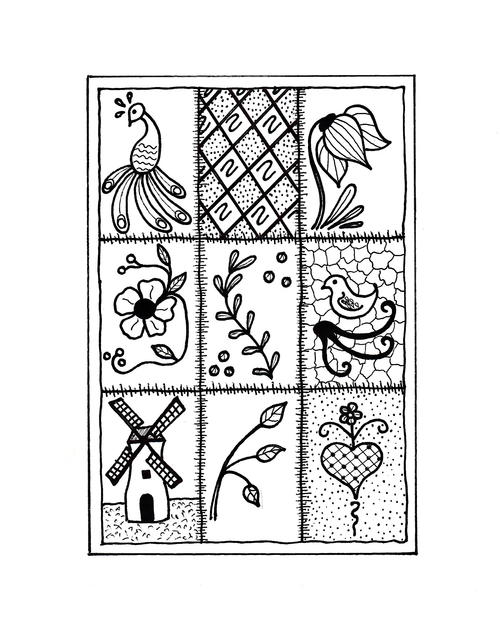
Click here to download a copy of the design. Print the adult coloring design onto a sheet of white A4 paper. You can use ordinary printer paper, but in this case, it is preferable to rather use paper with a medium weight.
-
Add clean water to one plastic bowl, and a mix of water and a few drops of food color to the other bowl.
-
Use a combination of different techniques to color the different backgrounds and pictures, such as:
a. Paint the background with food colored water.
b. Use a dry pencil on dry paper, and color the image as you would have done with normal coloring pencils.
c. Use a dry pencil. Press a wet brush against the dry pencil and then apply the brush to dry paper. Keep wetting the brush and pressing it against the pencil until the whole design has been colored. The wetter the brush, the softer the colors will be. -
Use the white pen to highlight certain areas of the different pictures.
-
Allow to dry and cut out once completed.
-
With the longest sides of the white textured paper on the left and right, fold the A4 sheet of paper first from top to bottom and then from left to right.
-
With the fold at the left, center and glue one piece of tiffany blue cardstock to the front of the card, and glue the other piece to the inside of the card where you will write a note.
-
Center and glue the colored design to the front of the card.
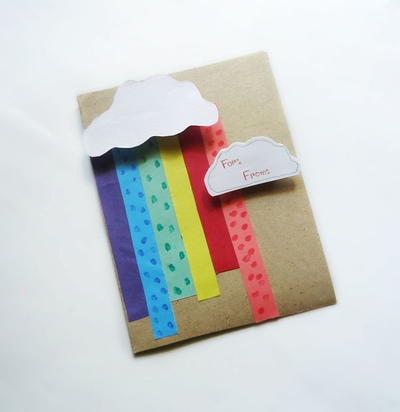
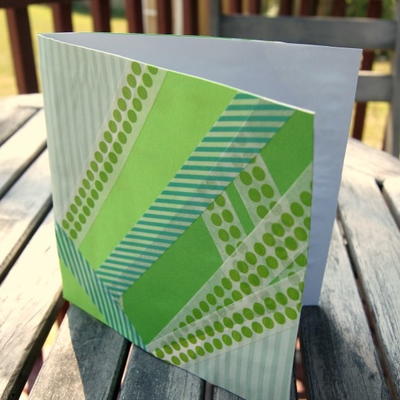
Read NextCrazy Washi Tape Greeting Cards
Thanks for your comment. Don't forget to share!
Report Inappropriate Comment
Are you sure you would like to report this comment? It will be flagged for our moderators to take action.
Thank you for taking the time to improve the content on our site.