Vintage Golden Cross DIY Easter Card

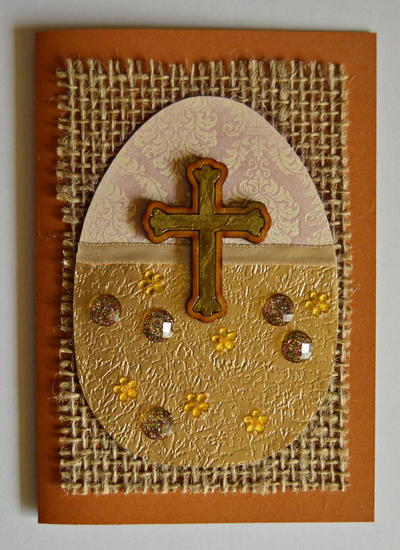
Easter is traditionally associated with Easter eggs and a cross, symbols that also have a spiritual meaning if you follow the Christian faith. This Vintage Golden Cross DIY Easter Card combines these symbols with vintage-inspired elements, such as golden and sparkling embellishments, as well as delicately textured papers and materials. All of these elements combined onto this homemade Easter card lead to a pleasing end result. A great way to send some Easter wishes to family and friends as well as remind everyone why we celebrate this miraculous holiday!
Estimated CostUnder $10
Time to CompleteIn an evening
Primary TechniqueMixed Media
Project or Page SizeCard
Type of Paper UsedCardstock

SeasonSpring
HolidayEaster
Materials List
- Printout of the provided pattern sheet (see below)
- 8.2" x 6" sandy brown cardstock
- 5.1" x 3.4" natural Hessian (burlap)
- A6 sized cream colored textured cardstock
- A6 sized gold metallic leather textured cardstock
- 2"-high wooden cross laser cut-out
- 0.5mm-wide cream colored satin ribbon
- 5 10mm-wide round gold epoxy glitter stickers
- 6 gold 5mm rhinestone flower stickers
- Pilot gold marker extra fine point pen
- Plaid Royal Coat Dimensional Magic
- Bronze gilder’s paste wax
- Small foam sponge - use one that was in a medicine bottle
- Quick-drying craft glue (such as Bostik Clear)
- Scissors
- Pencil
- Ruler
Instructions:
-
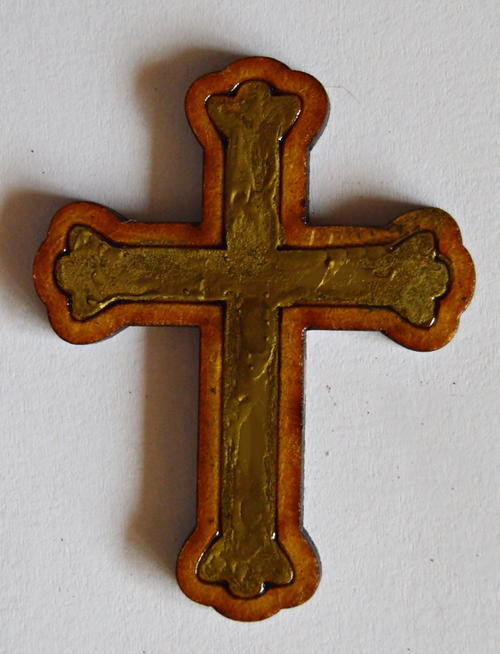
Use the gold pen to add detail to the top of the wooden cross and allow to dry thoroughly.
-
Add a thin layer of Dimensional Magic over the top of the cross and allow to dry thoroughly.
-
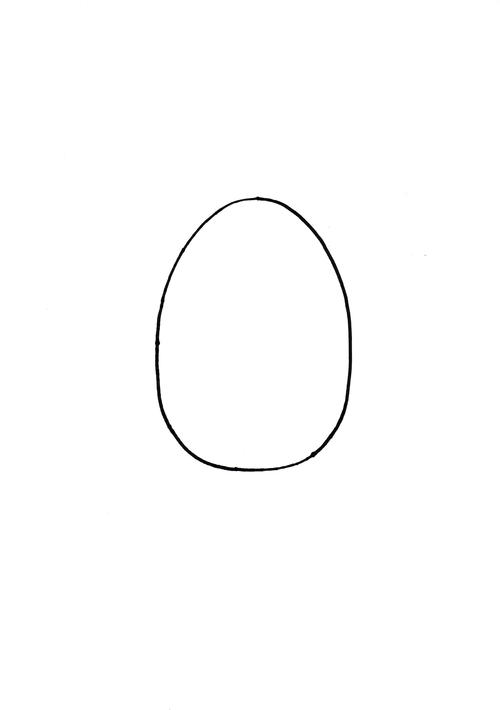
Trace the pattern of the egg onto the cream textured cardstock and cut the egg out.
-
Glue the gold metallic leather textured cardstock to the bottom half of the egg and cut off any protruding edges.
-
Use the sponge to apply gilder’s paste wax to the top half of the egg, to highlight the cardboard’s textured pattern.
-
Glue the ribbon horizontally across the egg and cut off any protruding edges.
-
Score the sandy brown cardstock to create a card sized 6" x 4.1".
-
With the fold at the left, center and glue the hessian to the front of the card.
-
Center and glue the egg to the front of the card.
-
Glue the cross, gold epoxy glitter stickers and the flower stickers to the egg to complete the card.


