Love and Music DIY Wedding Favor Bags
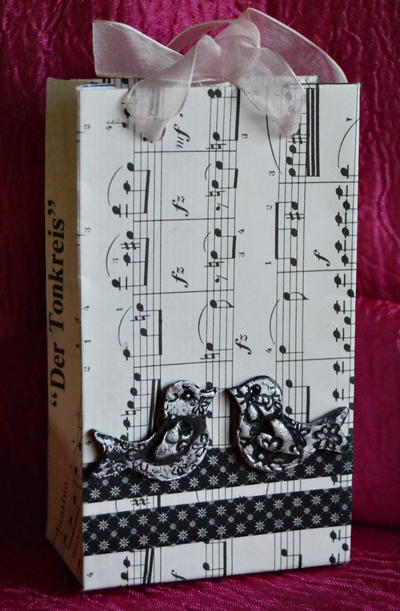
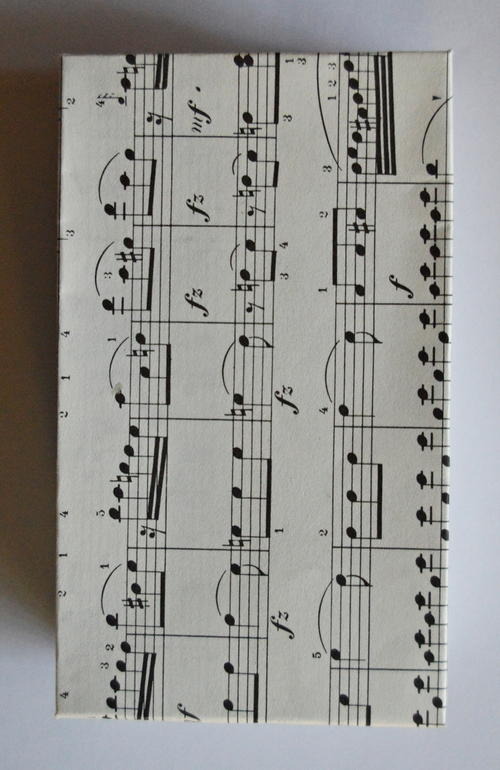
Music sheets are a hot craft item, and what better way to use them than on your wedding day! With these Love and Music DIY Wedding Favor Bags, turn vintage music sheets into DIY favor bags and add a touch of romance to your special day.
By changing the colors of the washi tape and the ribbon handles, the bags can be adjusted to fit in with a bride's personal taste. It is a very versatile craft that comes with a free printable pattern to help you make it flawlessly.
Estimated CostUnder $10
Time to CompleteUnder an hour
Primary TechniqueGeneral Paper Crafting

Materials List
- Printout of the provided pattern sheet for the bag
- A4 sized vintage music sheet
- 10mm wide black washi tape with small white flowers printed on the tape
- 2 pieces of 0.4"-wide light pink organza ribbon, each 13.4"-long
- 2 1.2"-wide silver resin turtle doves
- Clear-drying craft glue (such as Bostik Clear)
- Scissors
- Ruler
- Paper punch
Instructions:
-
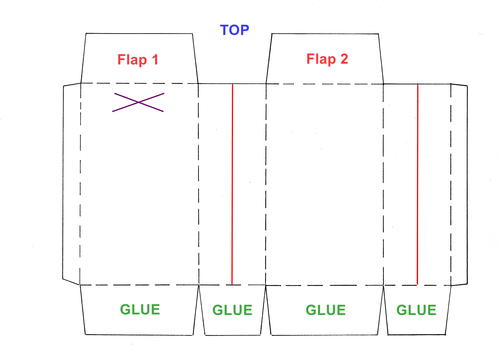
Click here to download the printable pattern.
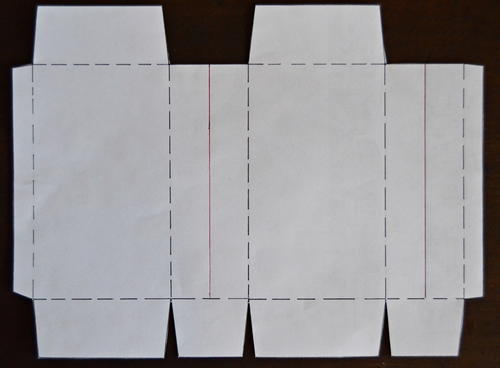
With the pattern facing upwards, glue the printout of the pattern sheet onto the music sheet. -
Cut out the bag, following the ___ cutting lines of the pattern.
-
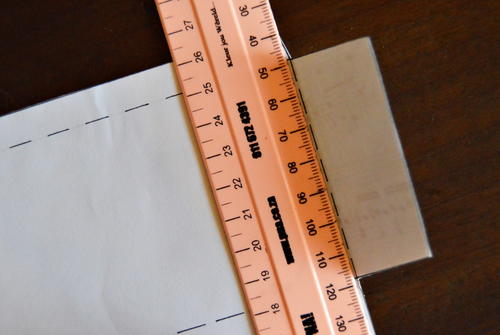
With the pattern facing upwards, use the ruler to fold all the - - - lines towards you, and the red ___ away from you.
-
Add glue to flap 1 and then glue it in place, as indicated by the purple x.
-
Do the same with flap 2.
-
Fold the bag in position in such a way that the music sheet will be on the outside.
-
Glue the bottom parts of the bag, labeled GLUE, together.
-
Glue the sides of the bag together to complete the bag.
-
Punch holes to the top of the bag.
-
Glue two strips of washi tape at the bottom of the front of the bag, and cut off any protruding edges.
-
Push the two ends of the first piece of ribbon through the two holes on the front, and tie the two ends together on the inside of the bag. Neatly cut the ends behind the knot.
-
Use the second piece of ribbon and do the same with the two holes at the back.
-
Glue the two turtle doves in place.
-
Pop a wedding favor into the bag – and voila!

